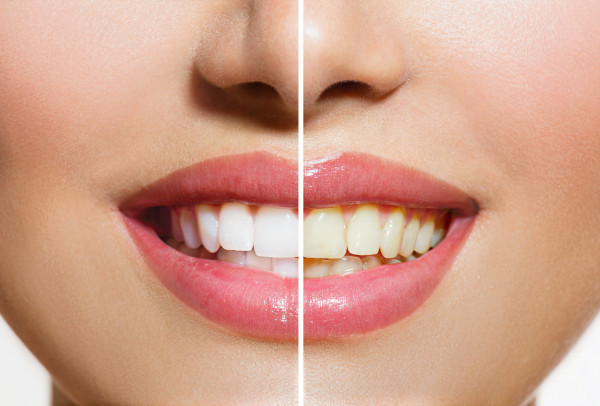
Before and After Teeth Whitening
With Spring right around the corner, now is the time to start thinking about how your beautiful smile will shine in those graduation pictures and how you’ll feel attending all your spring weddings and parties.
A big question we get more frequently this time of year is “What are my options for teeth whitening?” or “What are your recommendations for teeth whitening?” Here’s the podcast episode I recorded regarding teeth whitening options.
Teeth whitening basically comes in three different options. I’ll tell you what those options are, the advantages and disadvantages of each teeth whitening method, and the relative cost for each procedure. Here are the three basic options for teeth whitening that I recommend:
Option 1: Over The Counter Teeth Whitening
The most convenient way to get teeth whitening started is by visiting your local pharmacy or supermarket. In the oral hygiene aisles, there are boxes and boxes of over-the-counter teeth whitening options. Typically, these are whitening strips. Teeth whitening strips are like strips of Scotch tape that are smooth on the outside and coated with a whitening gel on the inside. The gel is a hydrogen peroxide base that removes surface stains over time. This is the only option that patients can take care of themselves. You don’t need a prescription to buy whitening strips because the hydrogen peroxide concentration is low enough not to cause any long lasting or severe damage to your teeth and gums. Another benefit is cost. Strips are the least expensive teeth whitening option available. A box of whitening strips may cost around $50 at your local pharmacy.
I think the biggest down side to whitening strips is you have to use them all the time. Because the peroxide concentration is so low, you need to wear the strips at least twice a day for about an hour each time. Who has two hours every day to whiten their teeth? The only situation I can think of where it would work well is if you have about an hour long commute in the morning and evening, and you’re not eating or drinking anything the entire time. Whitening strips are also the most difficult for patients to use. They are made in universal sizes, like “one size fits all”, but that also means “one size doesn’t fit anybody”. The patient needs to contour the strips around their teeth and if they are crowded at all, the strips won’t cover all of the tooth surfaces. In the end, the results are minimal.
When it’s all said and done, whitening strips are cheap, but the results you get probably wont’ be that great.
Option 2: Custom Teeth Whitening

Custom Tray Teeth Whitening
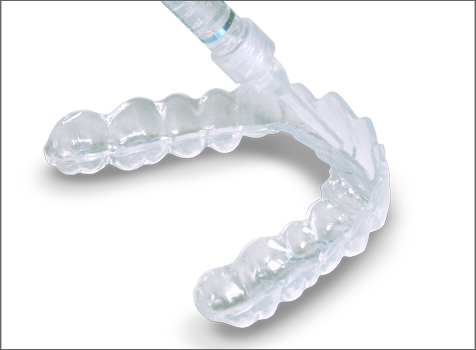
The second and third options for whitening your teeth are both delivered at a licensed dental office. The first is a do-it-yourself at-home option called custom tray whitening. An impression, or mould, of your teeth is taken and a stone model is made of your teeth. A plastic tray is made on that stone model to fit snugly around your teeth. Every night, before you go to sleep, for roughly two weeks, you dispense whitening gel into the plastic tray and wear the trays overnight. This method uses slightly stronger whitening gel than whitening strips, so you’ll get better results. But, it’s not as potent as high concentration gel that can cause gum tissue damage. That brings us to the third, in-office teeth whitening option.
Option 3: In-Office Whitening
The third and final option for teeth whitening, in-office whitening, is the most effective, but also the most dangerous. Your dentist protects your gums first with a protective gel that prevents the high concentration whitening gel from damaging your tissues. Then, dentists will place high concentration gel on your teeth for a period of 15 minutes up to 1 hour. Specific whitening brands will determine the amount of time to let the gel penetrate your teeth, and some systems use a bright light to accelerate the process. Professionals have found that systems that are very quick, single-visit procedures tend to have the highest incidence of tooth sensitivity after the procedure.


Leave A Comment
You must be logged in to post a comment.